Battle Station 5000
This project started around Summer of 2015. I set out to build my first “Home Lab Network”. After deciding on components I placed the order and soon after packages showed up at my door.
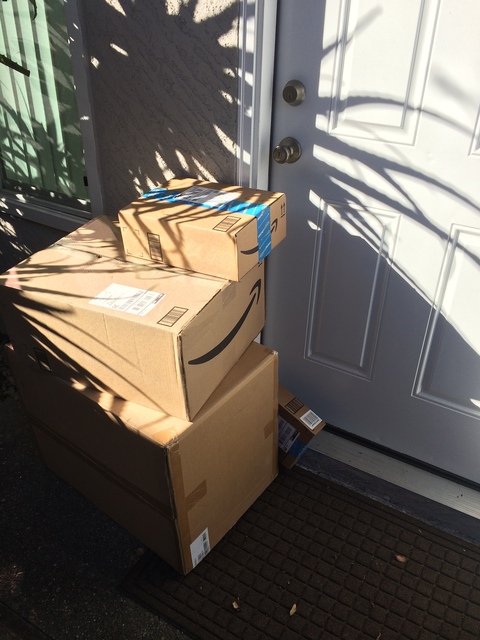
Parts begin showing up from Amazon
Version 1
Initial build — Mountain View, CA
The rack fit nicely atop the heavy duty stereo stand.
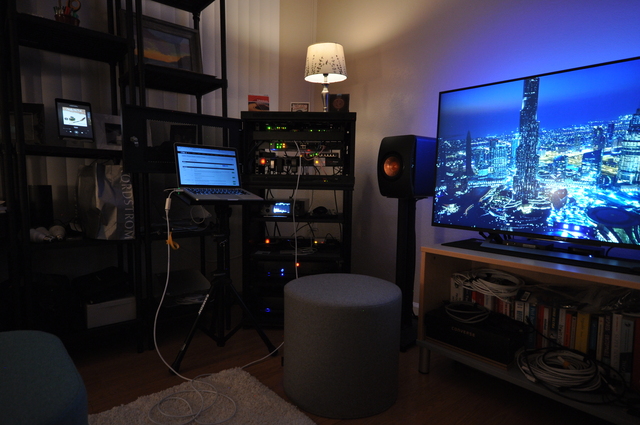
Network cabinet
Components list
- Network mini cabinet
- Power strip with surge protection
- Unmanaged POE gigabit network switch
- Managed gigabit network switch
- pfSense hardware router/firewall/dns
- Ubiquity Edgemax router/firewall/dns
- Ubiquity POE WiFi AP
- Philips Hue home automation hub
- Two Raspberry Pis
Closing front panel
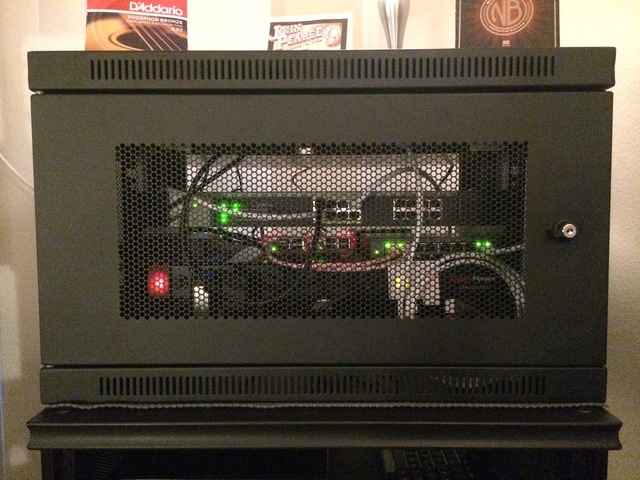
Closed cabinet
Raspberry Pis
Two Raspberry Pi nodes normally connected to the main network using a wireless ethernet bridge. Other times wired directly to the ethernet switch.
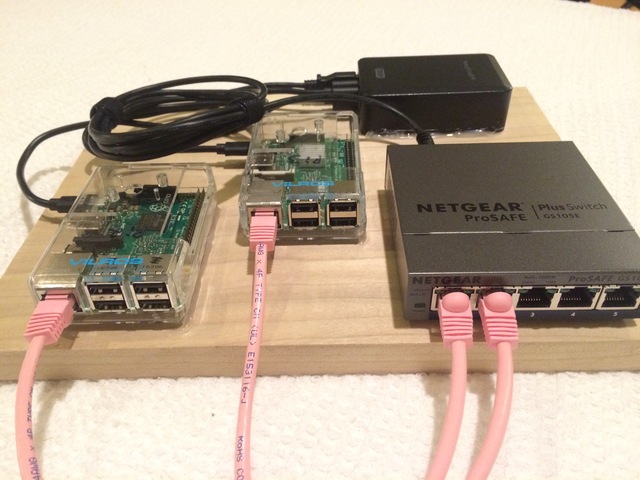
First Raspberry Pi configuration
pfSense box
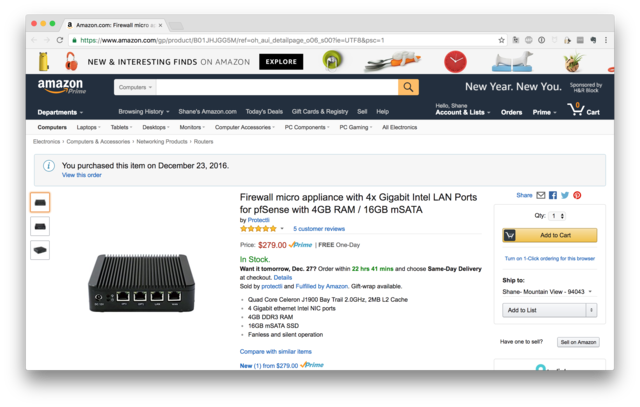
pfSense 4x Gigabit Intel LAN Ports
Version 2
Adding compute and storage
After moving to San Francisco in 2018 I built version 2 using an open frame mini rack.
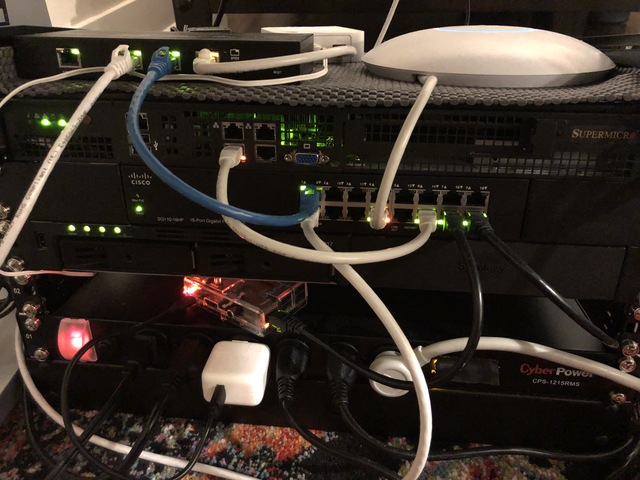
Open Mini Rack
Changes
- New open rack with smaller footprint
- Added SuperMicro Atom 8-core 32GB server running ProxMox
- Added Synology NAS for VM images and virtual block storage
- I moved the Pis inside the cabinet
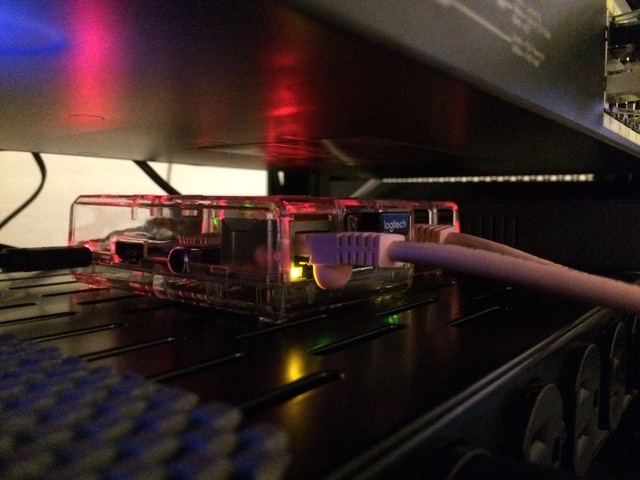
Raspberry Pis moved to cabinet
The EdgeMAX router has a nice interface and was easy to configure.
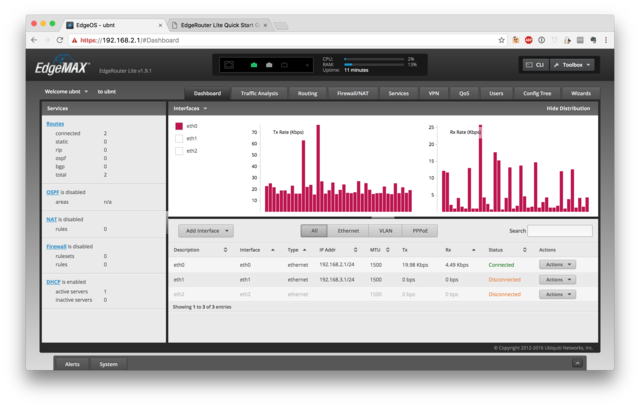
EdgeMAX Router
The NetGear managed switch worked as expected. Like most consumer devices the hardware is fine with a very sluggish interface.
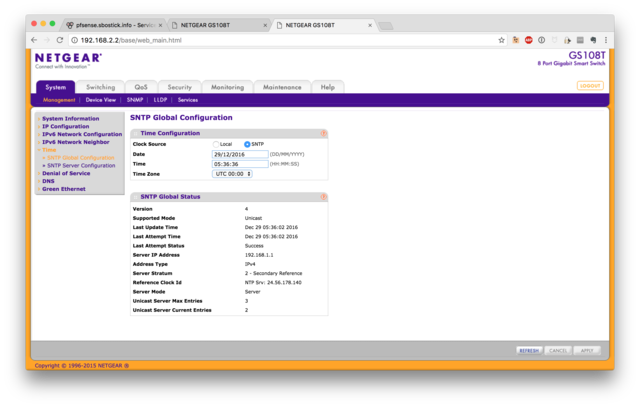
NetGear Switch
pfSense was fairly easy to configure.
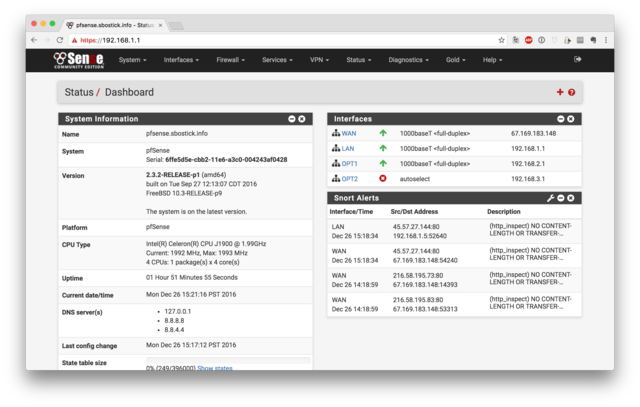
pfsense
pfSense is configurable from the command line as well.
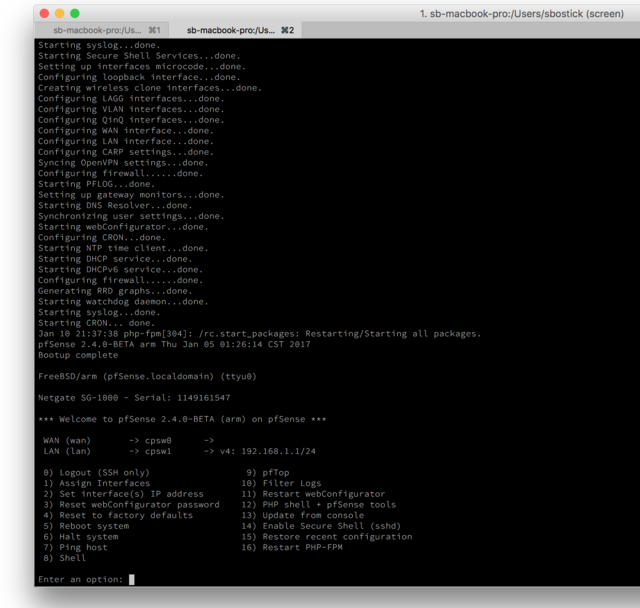
pfsense
The web interface is fast on the Celeron J1900.
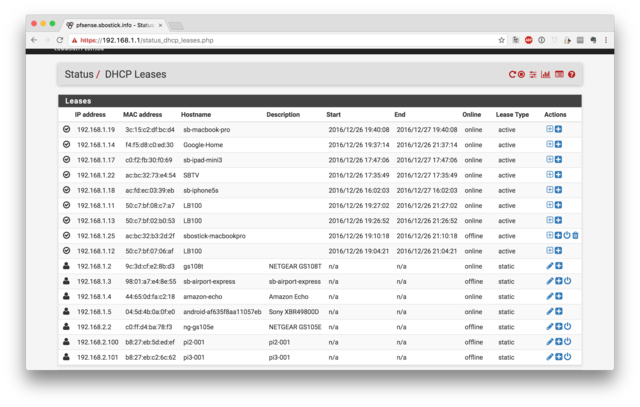
pfsense
Provisioned the SuperMicro server with ProxMox and carved out six VMs.
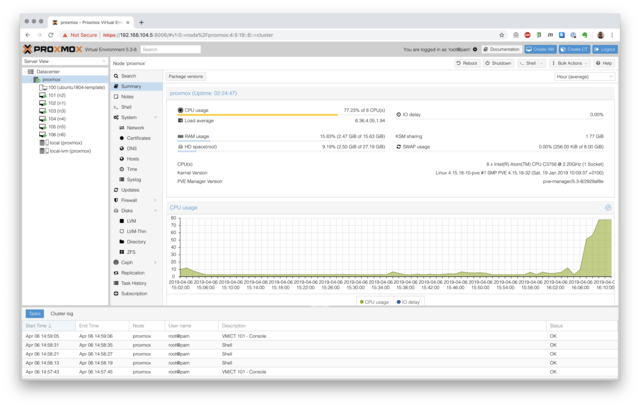
ProxMox
I wired up two Synology NAS devices.
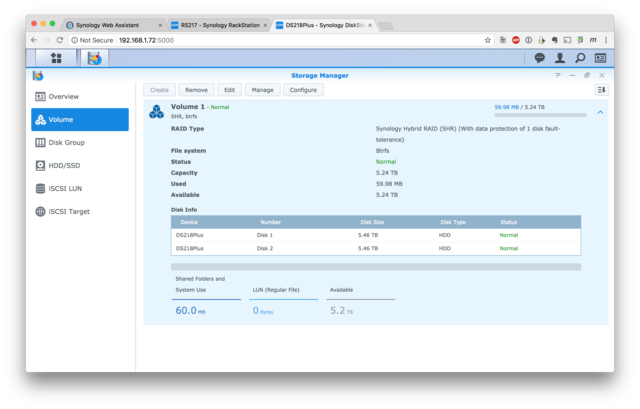
Synology RS217 and DS218Plus
Configuring a Unify wifi access point.
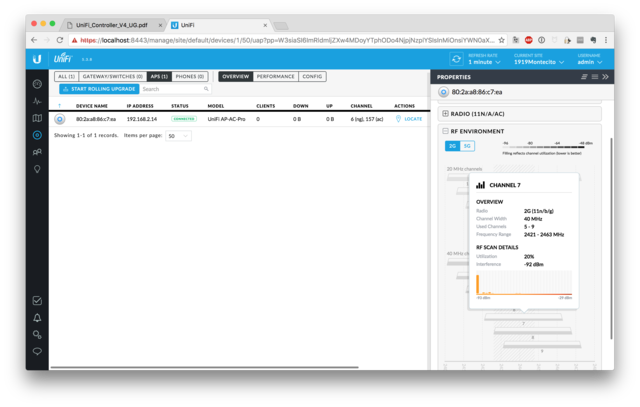
Unify AP
Using an app to visualize the wifi environment.
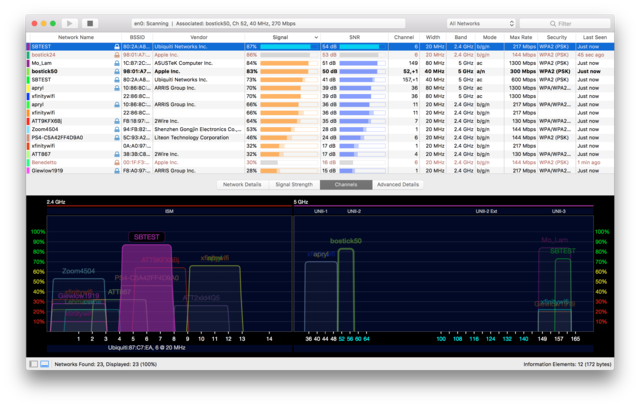
Wifi Explorer
Version 3
Migrating to the cloud
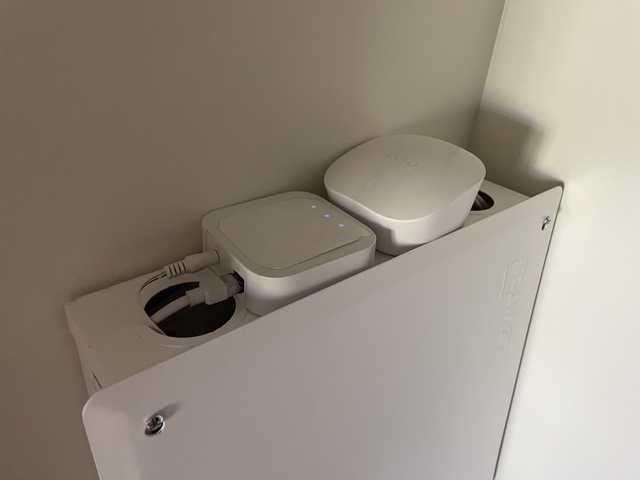
In 2021 I donated all the network gear and downsized to an Amazon Eero and Philips Hue Hub. Every other device in my home is wireless. I began reworking my previous projects in the cloud.
The entirety of my home networking gear
Home Network 2023
Now running in AWS
- pfSense instance providing NAT, VPN, DNS
- Kali instance for security testing
- Proxies (nginx, haproxy, traefik, caddy, envoy)
- Hashicorp Vault, Consul, Nomad servers
- OpenVPN CE and Wireguard VPN servers
- Pihole DNS servers
- OpenSearch cluster (managed service)
- Self-hosted Prometheus and Grafana instances
- Self-hosted runners for GitHub and GitLab
- Single-node container orchestration instances (k3s, kops, microk8s)
- Multi-node container orchestration clusters (kops, eks, ecs, kubeadm, kubespray)
Version 4
Start of Core Infra
To explore more around cloud design patterns and build repeatable experiments I set up another AWS account and bootstrapped it using Terraform. Along the way I documented my learnings and built many reusable patterns. In 2023 I set to work building out “home lab” version 4.
The initial infrastructure is multi-account, multi-vpc, with 3-tier networking and role-based access control. The design is based on freely available reference architectures and cloud provider recommendations. It represents the early stage core infrastructure for a mock startup I call “bstk.co”. Under that apex domain I have several kubernetes clusters (“onyx”, “topaz”, “quartz”) and delegate subdomains use with DigitalOcean and Vultr test environments. Test environments are scaled to zero when not in use.
The purpose of the infrastructure is to explore distributed systems, operational practices, and software development/delivery models, using a hands-on approach.
Bootstrapping with Terraform
To bootstrap the AWS accounts I wrote Terraform code for basic networking and IAM roles-based permission sets. I built custom AMIs and stood up a Jenkins server to automate the AMI builds. Then decided to drop Jenkins and rewrite the build jobs for GitLab CI and GitHub Actions. And of course there is a local build/push workflow. I wrote a script to enable use of a YubiKey with the AWS CLI using role-based access with short-lived tokens. Recently I enabled SSO as a secondary option for use with both web and command line interfaces. Hashicorp Vault is storing secrets and certificates. Secrets are retrieved using Vault Agent (VMs), External Secrets Manager (K8s), and automation (Ansible and GitHub Actions).
Optimizing for Cost
I purchased AWS reserved instances upfront for 3 years and switched from a NAT gateway to a NAT instance. One month I was out sick with strep throat and binge watched Netflix over the VPN for about a week straight. The data transfer costs that month exceeded $30. So I setup casual VPN instances on a budget cloud provider that doesn’t charge for the first 2TB of data transfer. Whereas AWS charges $0.09/GB of data transfer in us-west-2 at this time. The Core Infra VPNs are still used for access to private endpoints on the “company network”.
Looking ahead
The Battle Station 5000 project was fun and I learned a lot, especially migrating home lab experiments to the public cloud. Retiring the network hardware freed up space in my apartment and my mind to work on cloud experiments under a project I’m calling “Core Infra”.